Starline’s app (iOS/Android) guides you through location selection, checking for obstructions, and shows setup progress. You don’t have to use it, but it makes setup easier.
🔹 Use the Starline app’s obstruction tool to find the best spot with an unobstructed sky view.
🔹 If needed, mount the dish on a roof, pole, or balcony for a better sky view.
Connect Hardware
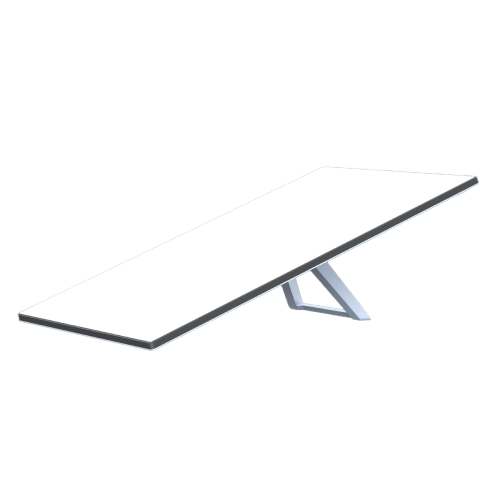
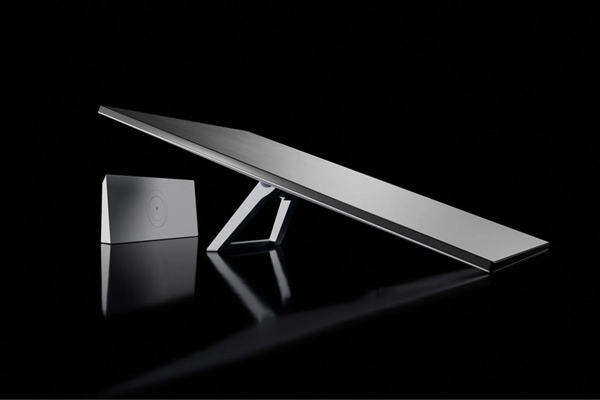
Place the dish (Dishy) where it sees the sky.
Connect the dish cable to your Starline router.
Plug the router into power.
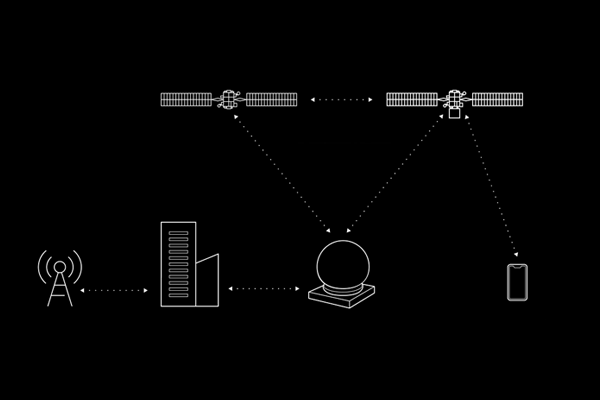
Wait for Satellite Lock
Within a few minutes, the Starline dish will find satellites and lock onto them. The router LEDs or the app should indicate when it’s connected (usually solid white when online).
Connect Your Devices
On your phone/PC, open Wi-Fi settings.
Connect to the network named STARLINE (or your custom name if you changed it).
A browser page may open prompting you to set Wi-Fi name & password (optional but recommended).
Customize and Monitor
Change Wi-Fi name & password ✔ Check signal strength and connection health ✔ See obstructions and alignment info ✔ Run diagnostics if needed
Troubleshooting Tips
Make sure the dish has fully open sky view with no obstructions.
Double-check all cable connections are firm and powered.
Reboot by unplugging and plugging back in.
In the app, check for alerts or issues.
CONNECTIVITY WHERE YOU LEAST EXPECT IT
Streaming, video calls, online gaming, remote working and more are now possible in even the most remote locations thanks to the world’s most advanced internet system.